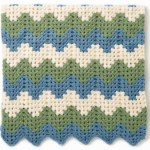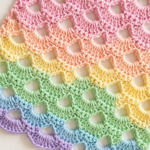
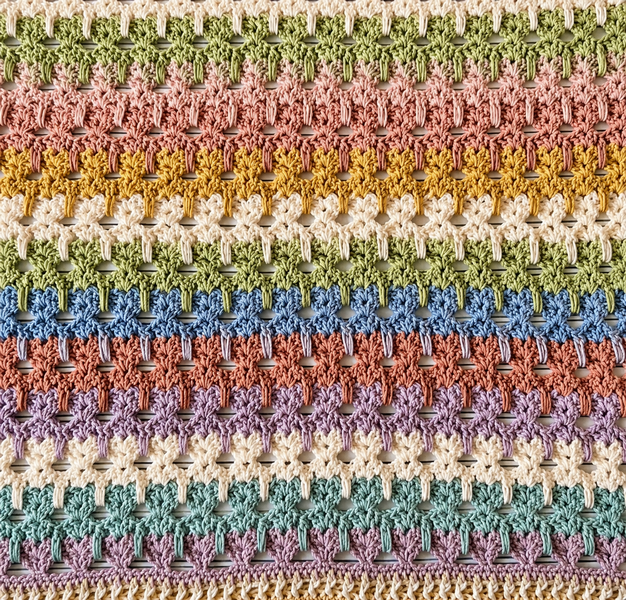
The Cat Stitch Blanket is one of the cutest and most creative crochet projects you can make. If you enjoy textured stitches and playful designs, this pattern is sure to become a favorite. As you crochet each row, adorable little cat shapes slowly begin to appear throughout the blanket, creating a fun and eye-catching effect.
At first glance, the pattern looks like a beautiful shell stitch design, but after a few repeats, the tiny cat silhouettes start to emerge. It’s a delightful surprise that makes this blanket both unique and enjoyable to crochet.
This cozy blanket is perfect for baby blankets, children’s throws, nursery décor, or thoughtful gifts for cat lovers. By changing yarn colors every few rows, the cat shapes stand out beautifully against the background. You can create elegant monochrome cats, playful rainbow kittens, or soft pastel designs depending on your style.
Even though the finished blanket looks detailed and impressive, the pattern uses simple crochet stitches like double crochet, chains, and clusters. That makes it suitable for adventurous beginners while still being relaxing and fun for experienced crocheters.
One of the most satisfying parts of this project is watching the cat shapes appear row by row as the blanket grows.
Cat Stitch Blanket Crochet
Abbreviations (US Crochet Terms)
- CH – Chain
- DC – Double Crochet
Cluster Stitch
Yarn over and insert your hook into the space between the shells two rows below. Yarn over and pull up a loop to the working row. Repeat this process three times until you have 7 loops on your hook.
Yarn over and pull through the first 6 loops, then yarn over again and pull through the remaining 2 loops.
Starting Chain
Chain 103 stitches.
Adjusting the Blanket Size
This stitch pattern is worked in multiples of 5.
To adjust the width of your blanket:
- 8 chains for the beginning
- Multiples of 5 chains for the pattern repeat
- 5 chains to finish
Example:
103 chains =
- 8 beginning chains
- 90 chains for 18 repeats
- 5 ending chains
Foundation Section
Row 1
- DC in the 4th chain from the hook.
- Work 1 DC in each of the next 2 stitches.
You should now have 3 DC total.
Repeat the following pattern across the row:
- Skip 2 stitches
- Work a shell in the next stitch
- Shell = 2 DC, CH 1, 2 DC
- Skip 3 stitches
Continue repeating until 5 stitches remain.
- Skip 2 stitches
- Work 1 DC in each of the last 3 stitches
Turn your work.
Row 2
- Chain 3 (counts as first DC)
- DC in the next 2 stitches
In the chain-1 space of each shell from the previous row, work:
- 2 DC, CH 1, 2 DC
Continue working shells in each shell space across the row.
Finish with 1 DC in each of the last 3 stitches.
Turn.
Kitty Section
Change yarn color before beginning Row 3. Each cat section is created over 3 rows.
Row 3 – Cat Body and Paws
- Chain 3
- DC in the next 2 stitches
Repeat across the row:
- Cluster stitch between the shells two rows below
- Shell in the shell space from the previous row
- Cluster stitch between shells
The repeat sequence is:
Cluster – Shell – Cluster
Continue this pattern across the row.
Finish with 1 DC in each of the last 3 stitches.
Turn.
Row 4 – Cat Face
- Chain 3
- DC in the next 2 stitches
Work a shell in the chain space of every shell across the row:
- Shell = 2 DC, CH 1, 2 DC
Finish with 1 DC in each of the last 3 stitches.
Turn.
Row 5 – Cat Ears
Repeat Row 4.
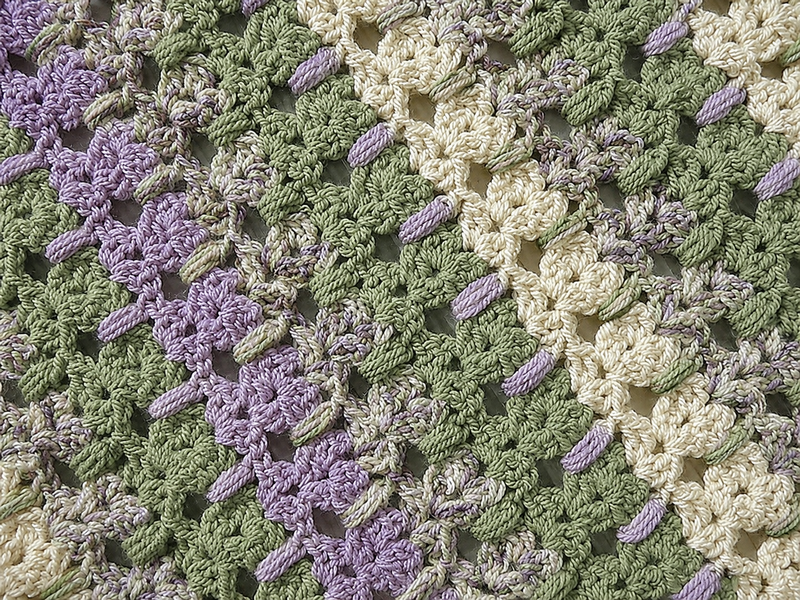
At this stage, the cat shapes will begin to appear clearly.
Continuing the Pattern
Change to a new yarn color and repeat Rows 3, 4, and 5.
Each 3-row repeat creates another row of adorable crochet cats.
Continue repeating until your blanket reaches the desired length.
Example Size
Foundation rows + 21 cat rows + finishing rows creates a blanket approximately:
66 cm x 82 cm
Finishing Rows
Second-to-Last Row
Repeat Row 3.
Final Row
- Chain 3
- DC in the next 2 stitches
To create a smoother top edge, repeat the following sequence across the row:
- TR (treble crochet) in the cluster stitch below
- DC
- HDC
- SC in the next 3 stitches
- HDC
- DC
- TR in the next cluster stitch
Repeat this sequence across the row.
Finish with 1 DC in each of the final 3 stitches.
Blanket Edging
To finish the blanket:
- Chain 3
- Work DC stitches evenly around the entire blanket edge
Using a slightly smaller crochet hook can make it easier to work evenly along the sides and foundation row.
Corners
In each corner, work:
- 2 DC, CH 1, 2 DC in the same stitch
This creates neat and structured corners.
Color Ideas for the Cat Stitch Blanket
Choosing colors is one of the most exciting parts of this project. Here are a few fun ideas:
- 🐱 Gray cats on a white background for a classic look
- 🌈 Rainbow cats on cream for a playful design
- 🖤 Black cats with pastel rows for a Halloween-inspired blanket
- 🧸 Soft pastel shades for a sweet baby blanket
Feel free to experiment and create your own unique color combinations.
Tutorial Video
The video tutorial shared by Naztazia is clear, detailed, and very beginner-friendly, making it easy to follow along and learn this adorable pattern step by step.
Access the PDF/ How to Crochet Cat Stitch
Final Thoughts
The Cat Stitch Blanket is a fun, creative, and heartwarming crochet project that transforms simple stitches into adorable cat shapes. It’s perfect for crocheters who enjoy playful textures, color changes, and unique handmade designs.
Whether you make it as a gift, nursery blanket, or cozy throw for yourself, this pattern is sure to bring smiles. Watching the little crochet cats appear row by row makes the entire project incredibly rewarding and enjoyable.